


Water Tank: FOUND
You may remember a few weeks ago, we posted all about the fun of removing the old water tank on the boat.
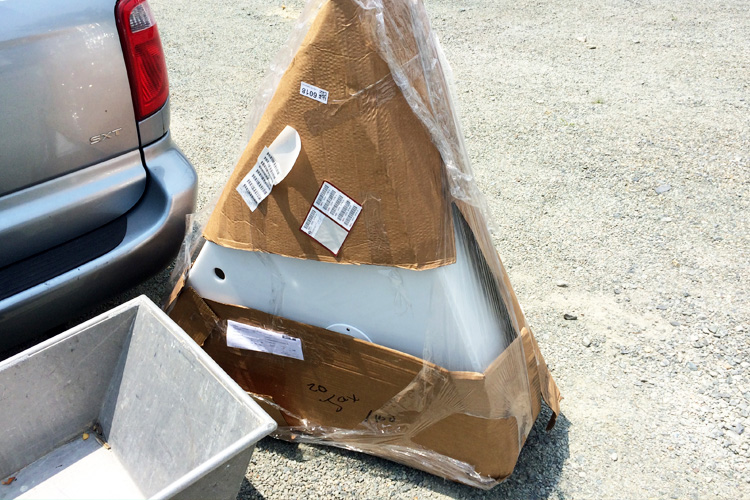
Well we found our tank! It arrived about a week ago, straight from the Duraweld facility in Florida. Let me tell you; this is a thing of welded plastic beauty! The order-to-delivery time was estimated at 6 weeks, so when the marina manager came over to tell us that a Roadway Truck was here with a very large box, we were EXCITED!
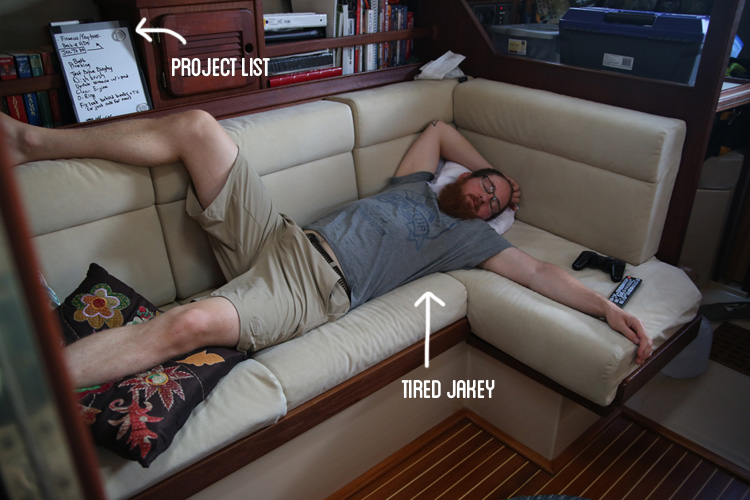
We figured with the installation of the tank, building a platform and securing the tank, plumbing the old hoses and new fittings for the tank and bathroom sink, cleaning all the old hoses, and all the back-and-forth to the hardware store would be at least 4 days. We decided to give ourselves an entire week so we could take it slow and do it right (only once).
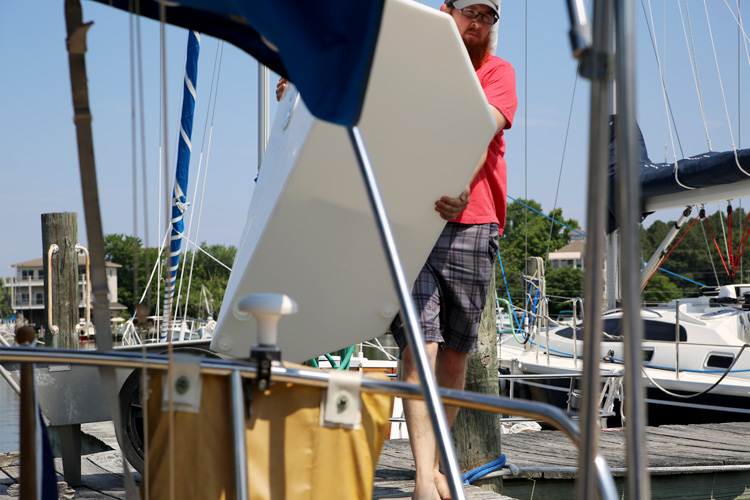
First things first…gotta unwrap the package and see what we’re dealing with. Since this was a pretty blind project, meaning we had no idea if the measurements would work for our boat, we were slightly scared that the tank wouldn’t fit through the doorways of the boat. Otherwise our project would be ground to a halt pretty fast.
The new tank weighs about half as much as the old aluminum tank, so it was much easier to lift it into the boat. With a little finagling we got it through the companionway and V-berth doorways (whew!) and right into its new home. Looks like it is a perfect fit! Actually its smaller than the old tank by about 15-gallons, so I (Jake) knew there would be some work needed to hoist it up and secure it for plumbing.
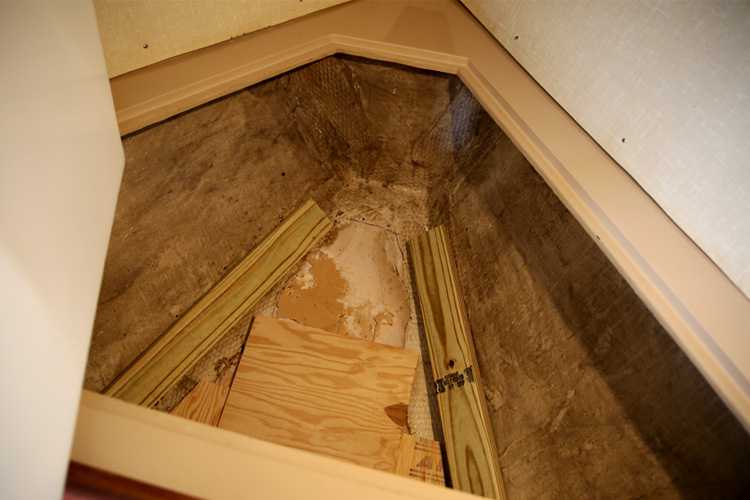
The next step required building a platform to make the tank level and raise it up a few inches. That process took nearly an entire day by itself. I picked up some high-quality weather-treated 2×4’s and plywood. I started out with an extremely simple design and modified accordingly. There was a whole lot of back-and-forth between the boat and the dinghy dock where I would make small, slight adjustments. Because the boat is asymmetrical, I had to do the back-and-forth a lot. At last, I got things situated and had a nice platform prepped which kept the tank level. (side note: its hard to make sure something is level on a boat that rocks back and forth constantly). I secured it with some drilling and a whole ton of 5200 epoxy and then just waited for things to dry.
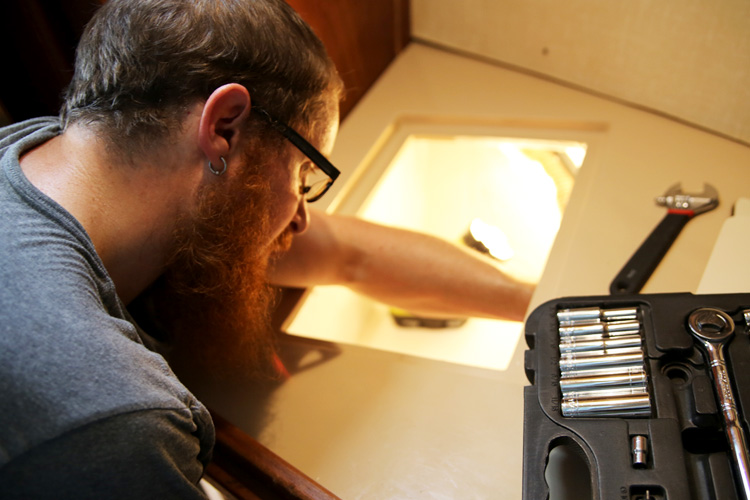
With the tank more-or-less installed, it was off to Ace Hardware (our home away from home) to pick up our new plumbing pieces. Because plumbing is not my forte, I brought samples of all the old hardware with me to match it up.
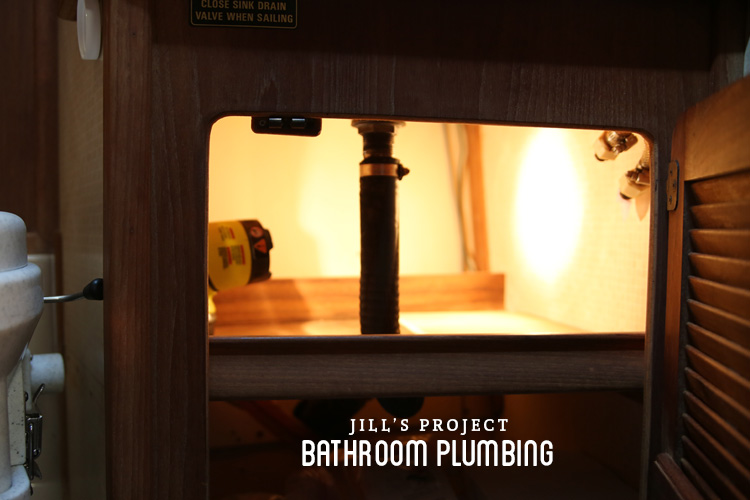
There are three parts of the plumbing puzzle:
1. Fill tank (where water comes into the tank)
2. Vent hose (a simple air vent)
3. Sump connection (bottom of the tank that feeds or fresh water system)
Each of these areas would be relatively easy to install if access wasn’t an issue. But, unfortunately that wasn’t the case. So after 3 MORE trips to ACE (and an entire day), I managed to get all of the parts needed to hook up each piece of the ‘plumbing’ pie.
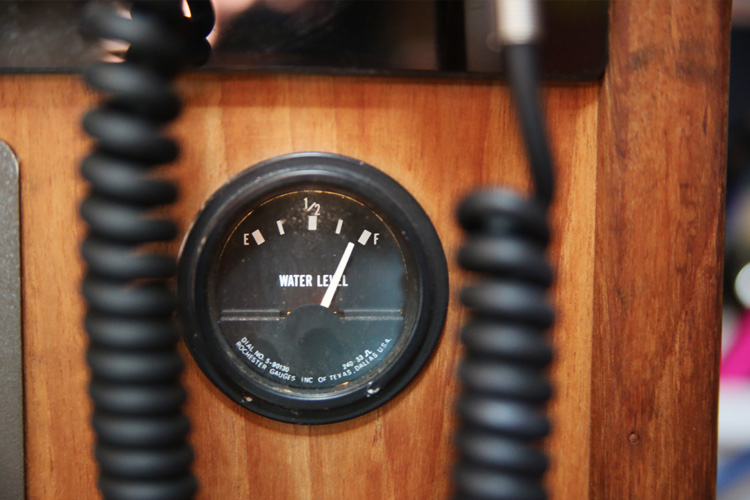
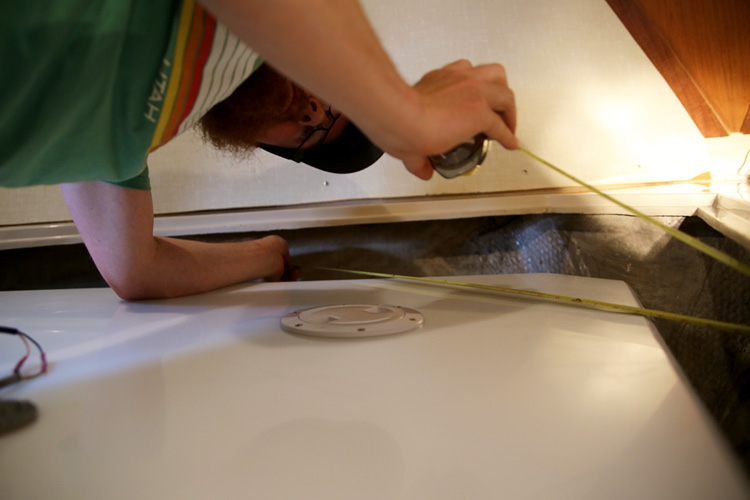
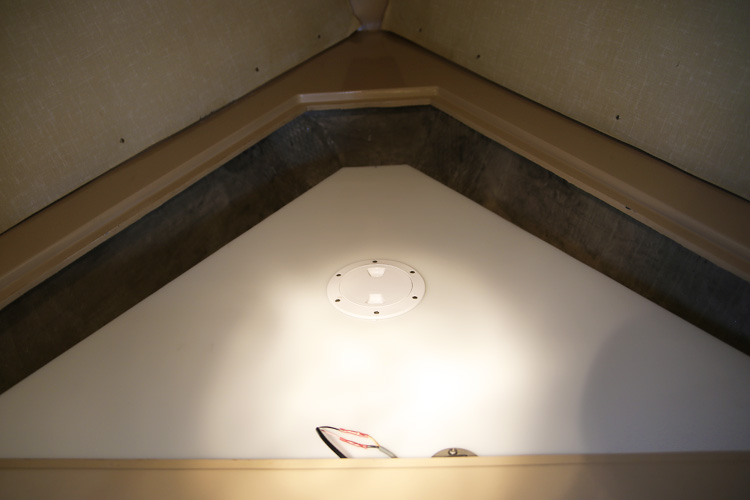
There was one more minor detail; we need to install the new water-level gauge. The purpose of this is to let us know how much water we have in the tank without having to look into it (since its buried under the V-berth mattress.
Duraweld gave us the exact make and model of the gauge we needed, so that made things pretty easy upfront. However once I looked at it up-close, I realized that I really didn’t have any room for error. Our new tank would need to have holes drilled into it, to secure the gauge properly. I was terrified that I’d mess this up, since I’m notorious for needing to do things twice (once the wrong way, then once the right way).
I made sure to measure and mock up the pattern over half a dozen times before diving in. Next was securing the backing washers, nuts and bolts, then tightening down the bolts in a star-patteren to make sure there was a good seal. Once ‘installed’ I simply had to strip the old wiring and clamp the new ones using waterproof connectors that shrink wrap with a heat gun. BOOM. water-level gauge installed!
So far so good. Or so it seems. The scariest part is still to come. That is, the actual filling of the tank with water. This is where we will discover what works and what doesn’t…i.e. is anything leaking? But truth be told, it would be a miracle to have no leaks after this type of installation. Plus the old plumbing has not been tested ever. So, our hopes weren’t too high.
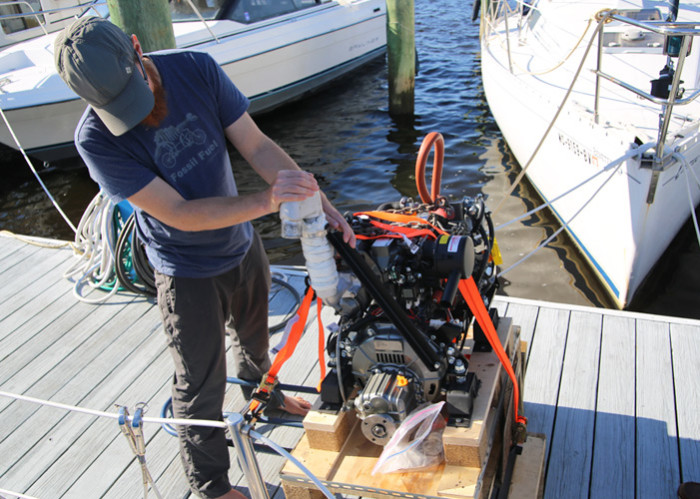
I decided to start with a mere 5 gallons, since that amount of water wouldn’t sink the boat if something went awry. I turned on the water pressure gauge, which hasn’t been used yet on Bosco. I knew that pressure would need to build, so the pump went on. Normal. Then it stopped after about 15 seconds. Normal. I was hoping that it would stay that way, but within another 20 seconds, the pump went on again. Dangit. That means its losing pressure and something is leaking.
It was time to grab a flash light and start the search. We found one leak right away, because there was water everywhere! It was the new bathroom sink faucet / shower head combination. Jill installed our brand new shower head/faucet combo earlier in the week…
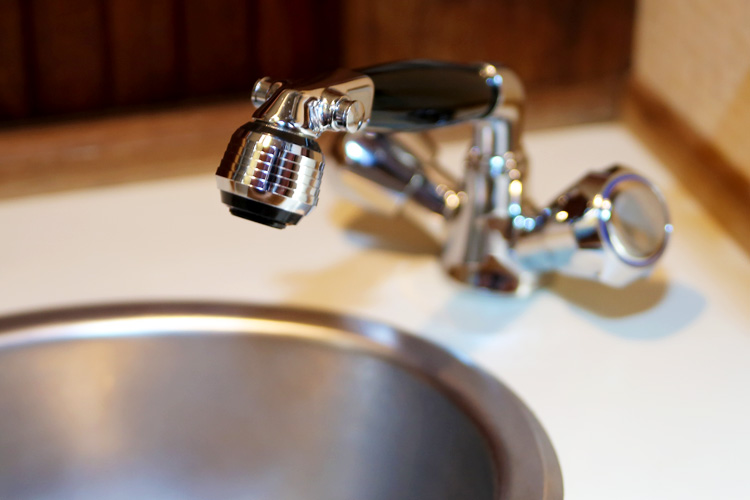

…but she didn’t connect all the gaskets completely since we still needed some fittings. I didn’t realize this until it was too late so there was a bit of water all over the place (which isn’t terrible since it is a bathroom after all). It was easy enough to tighten down and now it only leaks a tiny bit of water (we’ll have to investigate that later on).
We hoped that was the only culprit, so we turned on the pressure gauge again, and within a matter of seconds after pressure built, it started pumping…so the search continued.
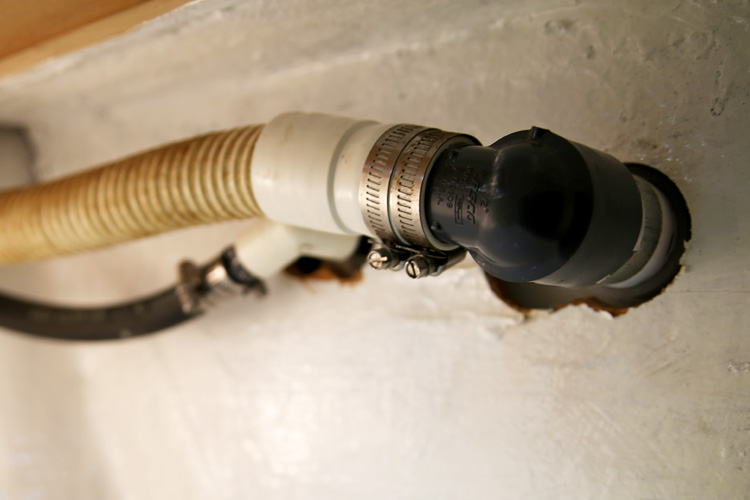
The next obvious spot to look was at the central-water-control-system in the engine room. I saw a pretty steady stream of water coming from an outside locker. So I started the task of emptying the locker completely and within minutes saw the leaking fill hose from the hot water tank.
I went to work taking off the old fittings and back to Ace to get replacement pieces. At this point, I has been doing plumbing work for days so it took about 15 minutes to replace the old parts with the new. By this time, most of the water was gone, so we added another 5 gallons and tested again. Amazingly enough we found no others! The bathroom sink still needs a little more work, but nothing major.
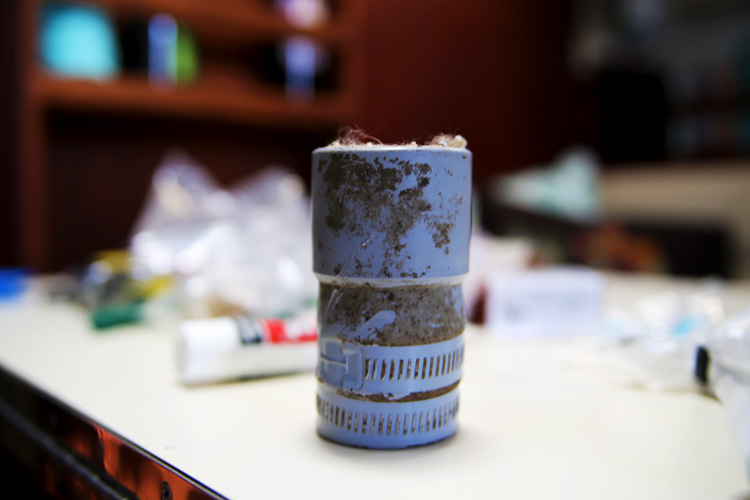
The last phase is to shock the fresh water system…i.e. clean it. We have several hundred feet of water hosing on Bosco that is in dire need of cleaning. The only way to do this on the boat is to use bleach. We added about a quart of bleach to our 55-gallon tank. Then we turned on the pressure gauge and all of the faucets until we could smell the chlorine coming out.
Online research taught us that 3-20 hours is all the time needed to kill anything that may be living in the plumbing. The chemicals in the water system will eventually break down the hoses and fittings, so its best to get them out as fast as you can afterwards.
We waited 3 hours then simply turned on all our faucets to move the water though the entire system…over…and over…and over…and over…and over. We did this a total of 6 times, each time taking about 10 minutes to fill, and 20 minutes to empty. After 6 passes, the water ceased to smell of bleach and so we figured it was probably good.
Before we can call this job complete, we still have to secure the tank in place. Since there will be times when the wind and waves will have the boat ‘bucking’ its important to secure the tank as best as possible so nothing gets damaged or leaks. I built a brace to secure the top of the tank, and will use pourable foam to finish the job which should keep the tank snug and in place.
Whew!
What a job of back braking labor this was. I learned so much about plumbing and got some good hands-on experience. I feel so much more comfortable now and confident that I could handle if something else goes awry with our plumbing system. This will be invaluable skill to have. Next time something of this nature breaks, we could be in a far reaching part of the planet away from anything or anyone…so we’d have to fix it ourselves.
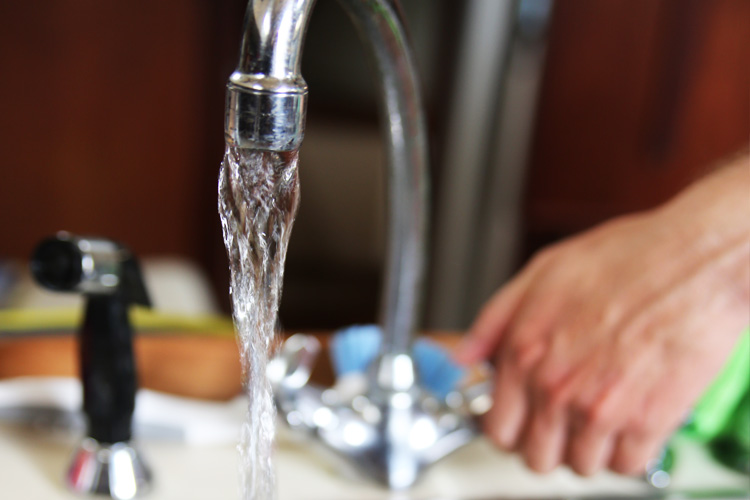
With the water tank and plumbing systems clean and secure, we felt that this task was finally complete! We now have running water! We still need to install the filtration system so that we have drinkable water, but at least now we can do dishes and take showers and clean up without having to fill jugs of water day-in-and-day-out.
Its kind of amazing that more then half of the world does not have running water. Living in a first-world country our entire lives has spoiled us big-time. We are so grateful for this luxury, and won’t be taking it for granted anymore.