Part 2: The Head Case
Part 2…of the adventures in composting head installation (Check out Part 1 if you missed it)
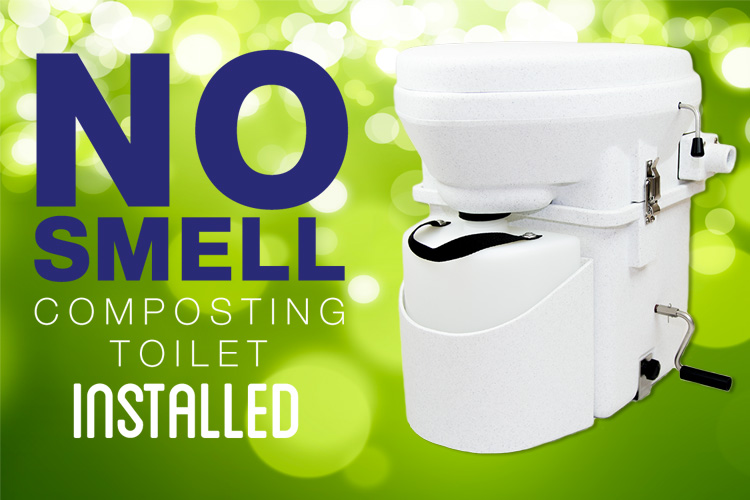
We actually managed to accomplish several boat projects this week and get the boat in a more stable (less tornado-like) state. The project we were most anxious to finish and at the top of our list was to get the composting head installed…FINALLY! (no more 2-AM jaunts to the bathroom).
In theory, we figured this job would be relatively quick..REL-A-TIV-ELY quick. HAHA. Well we said that about 3 days into living here and its now been over 2 weeks and here we are.
The first part took nearly a week, removing the old crapper and holding tank. But that was only half the battle. The rest of the job includes getting all the plumbing OUT of the boat, installing the solar ventilation fan and then the head, itself.
First…the plumbing. So we thought that the nastiest part of the plumbing was the tank…which it was by far. But we still had a couple of hoses in the holding tank compartment, as well as under the starboard settee (right side of the boat’s “couch” if you will). Jake and I started with the large hoses under the settee, since we figured those would be easiest to access. Both of us were torqued in funky positions trying to get under compartments to pull the hoses out. The raw water hose and overboard pump-out hoses were bad. We got the majority of them out within about 15 minutes (and avoided any major spillage).
After some disinfecting and bleaching of everything, we had one more compartment with the remaining hoses going through the bathroom cabinetry. We hadn’t realized how truly smelly even just part of the hoses were, because as soon as they came out, the air was RANK. Tepid. Both of us were ready to gag, but instead we got our big rubber gloves, a large garbage bag and made a mad dash to get the foul things outta here. Within about 10 minutes the majority of the smell from the compartment was cleared…though it still had an odor it was SO MUCH BETTER! After several doses of disinfectant and bleach we left everything open to air out.
OK, so hoses are all out. Whew!
Now to prep the base for the composting head. Seemed simple enough…NOT! Unfortunately the composting head was much larger than the old one. And in order to mount the new one, we had to remove the old fixtures & shower seat cover. We were bummed about that one, since it was such a swank feature of our boat. But it would have required a lot of custom fabrication work that is beyond our abilities and more money than it would be worth. 🙁
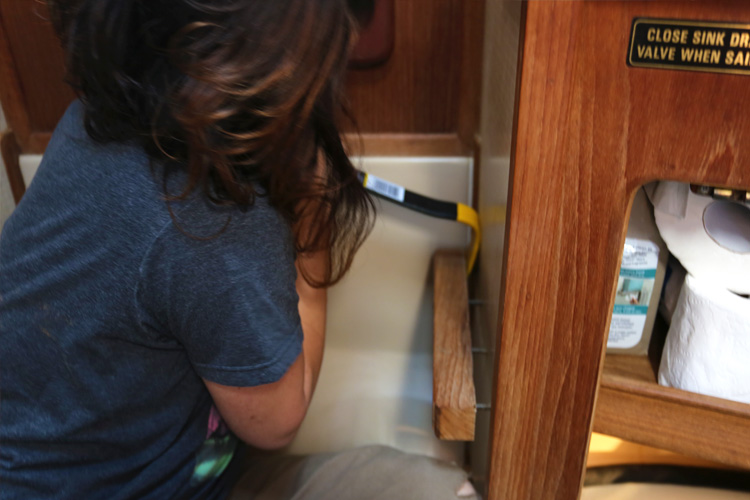
I was in charge of removing all the old fixtures which was not as easy as hoped. The ingenious way that everything fits together on a boat is simply that…ingenious. Not common. So I had to use several different tools (crowbar, drill, screwdrivers of all sizes, hammer) and lots of contortionist movements and muscle to pry things off. Now we were in business!
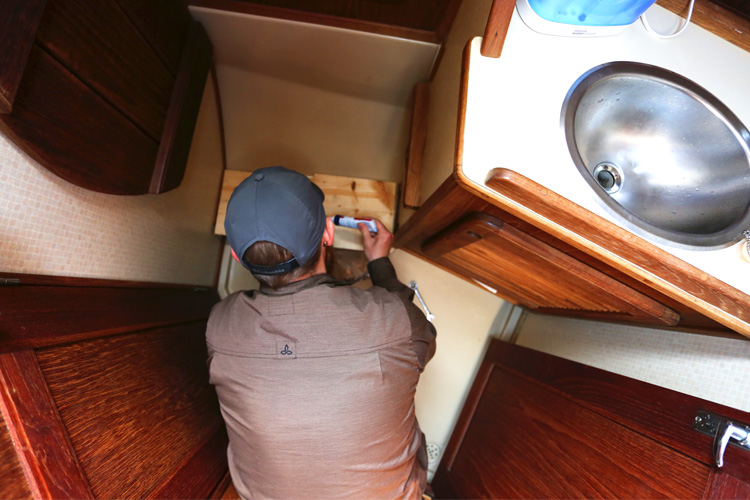
Because the old toilet was mounted differently, Jake had to fabricate a new base plate to mount the new toilet. He used sheets of paper and careful measurements to get the exact shape and location of mounting brackets, which had to be perfect for stability. Once the wood was cut and prepped perfectly, he weather treated it several times (Since it will be exposed to water anytime we shower). Base prepwork done.
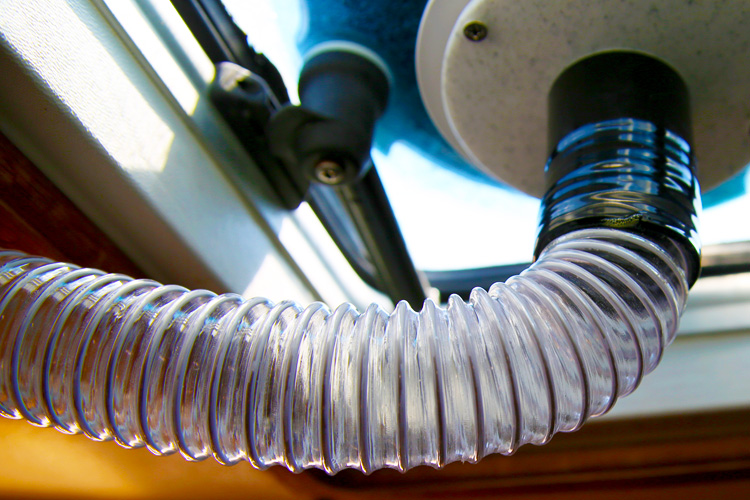
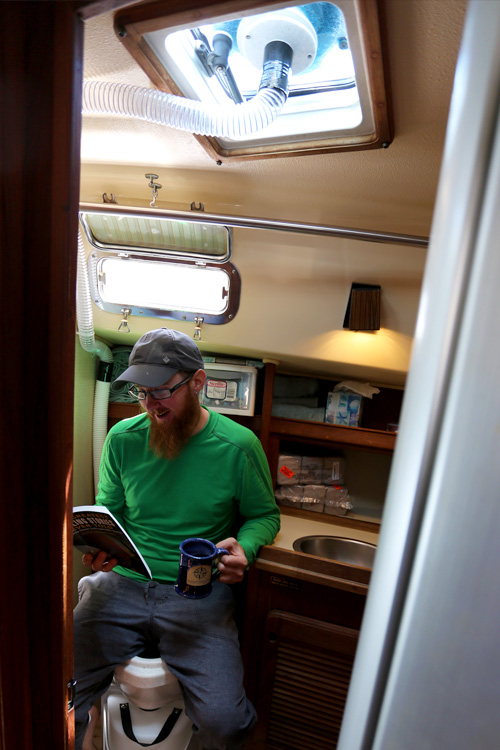
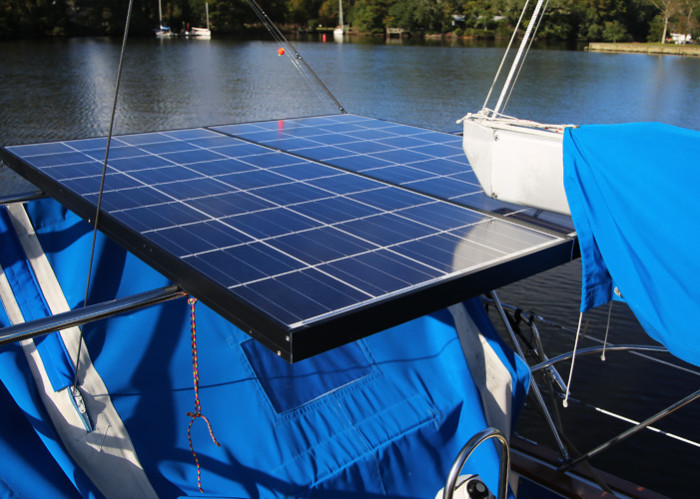
The last tricky thing about the composting head is that it needs to be vented to prevent bugs and any nasty smells. The vent functions by bringing in clean air and removing bad air. Simple enough. We decided to mount a solar fan ventilation system (powered by the sun, baby!) on top of the bathroom’s hatch.
The major issue with this installation is that it required drilling a 3-3/4″ hole through the hatch cover. Jake has never drilled anything that large, and heard that it could be a bit tricky. But after a few hours and trips to the hardware store, he managed to get the hole setup perfectly.
The final step of solar fan installation was mounting the PVC tubing to the fan and the base of the head. This was pretty simple other than getting the wrong size tubing the first go around. But we got it setup and functional in less than an hour. And that’s it – we can install the head, which is basically just clamping it down. Easy Breezy.
Prepping the Composting Head
Before we can begin using the head, there is a little bit of prep work. For those who know nothing of how they work, I will give a brief explanation. If you want to know more, you can visit the Nature’s Head website for details.
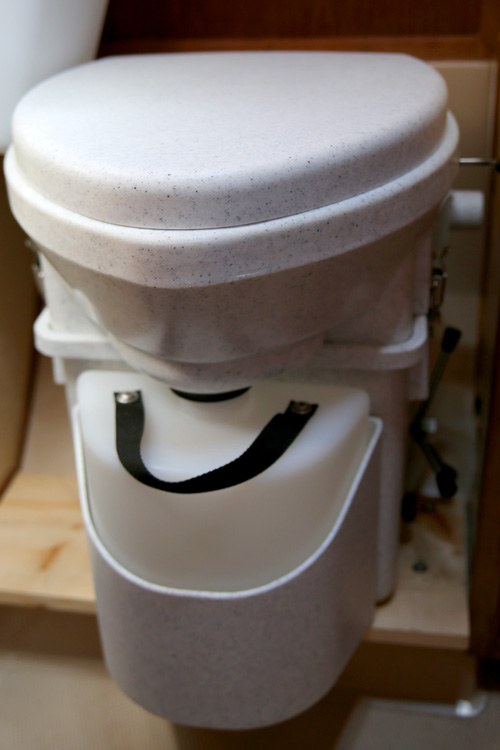
There are 2 compartments. One for solids and one for liquids. There’s a latch that you open when you go #2 and a little drain at the front for #1. The #1 spot is pretty basic: A jug, a cap and a handle. To prep this area, you don’t really have to do anything. But if you want, you can add 1TBS of vinegar to combat any smells (though you really shouldn’t have this problem either way)
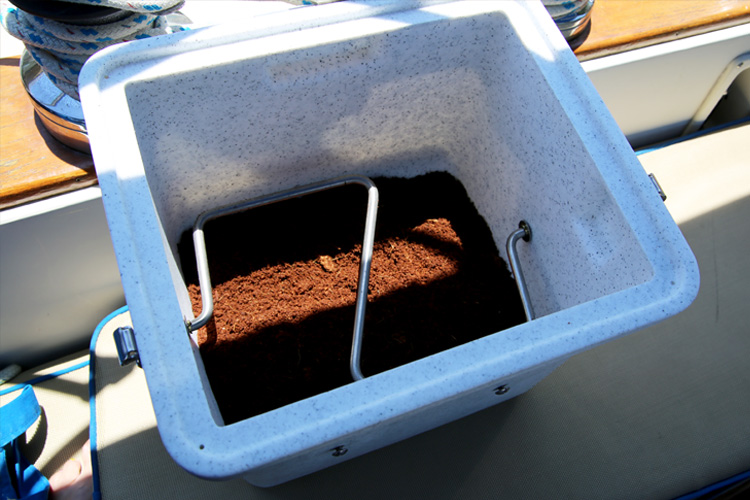
The #2 spot is also simple. In order to compost waste matter, you need a substance like peat moss or coir brick to break it down. All you will need is a bucket, some gloves, a brick of coir (or peat moss if you are using that instead) and 50-60 ounces (or 1.5-2 Liters) of water. Add the coir brick to the bucket and then fill it with water (start with less). After about 10 minutes, you can break apart the coir with your hands and it will end up looking like top soil. It shouldn’t be TOO hydrated. You want it to have a consistency that is soft, but not too wet. If its too wet then it won’t be effective against the waste going into it. Finally, add the contents of the bucket into the base compartment of the head. Done. The head is reassembled in 2 parts and ready for use.
Our head came with a spray bottle that we filled with a 1:1 solution of vinegar and water. This will be used after every use to simply spray out the chamber to eliminate any chance of odor. The beauty of our head, unlike typical boat heads, is that you can use toilet paper in the same manner as we are all used to. On the “normal” boat head, you can’t flush toilet paper because it will clog all the plumbing, so you have to throw it out in a trash can. Another great thing about our head is that there’s literally NOTHING on it to break as with a normal boat head. There are no tubes to get clogged or holding tanks to leak (we all know how fun that is!) or anything. I guess the worse-case is if the ventilation fan breaks, but there’s pretty easy solutions to that (i.e. – use an electric fan in its place).
All-in-all we think the composting head is the wave of the future for boaters. It may be a little “hippie-fashioned” but it’s so much easier and more conducive to the live aboard lifestyle. It just makes sense. Plus, Jake and I are hippies at heart, so it fits.
Test Run:
Install Boat Head. Check off the boat project list!








We love the composting head. It makes perfect sense on a mobile home or boat to have something ‘disposable’. I can imagine that its more difficult on a boat than an RV, to dump waste, but it is much less messy than the old head we had on our boat. We now have an RV with a composting head and we simply love it – so easy to use and no issues or smells or things breaking. Can’t beat that.