


Part 1: The Shit Show
Mankind has gone to great lenghts to make using the head (bathroom on a boat) as simlar to that of your standard landlubbers’ bathroom for years. The truth of the matter is that it’s just not the same…as soon as we stop pretending that it can be, then we can move forward 😉
Cutting to the point, we decided months before even buying our boat that we would install a composting head regardless of the type or condition of the boat in question’s head (as this was pre-bosco boat ownership). We decided to go with a Nature’s Head because it seemed very well built and had very minimal moving parts (i.e. – less stuff to break!).
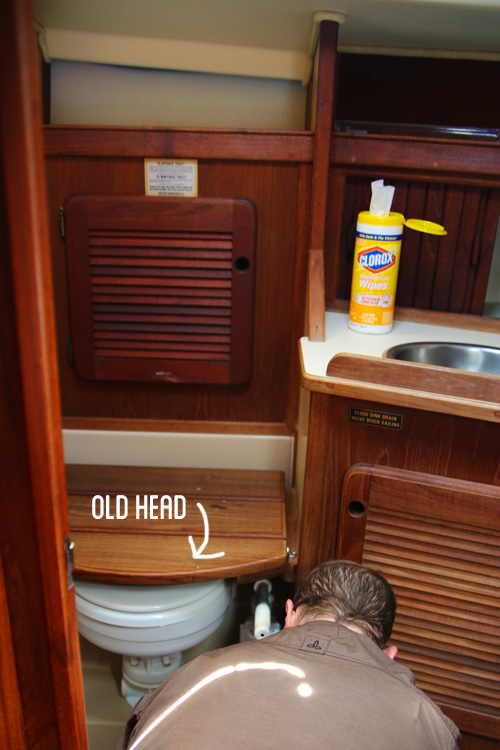
However before we could install our new glorious head, we had to rip out the old one.
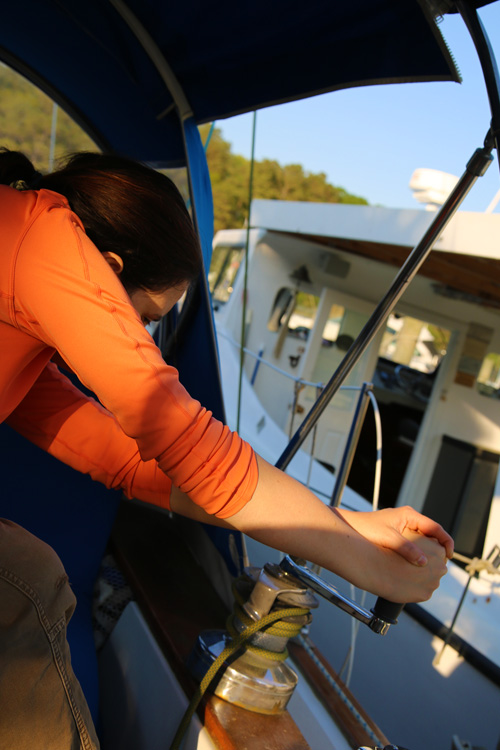
I (Jake) started this project with about as much clue as any other landlubber. I had all my tools ready to go; looked at the old head…and realized I had absolutely no idea where to begin. I investigated some of the tubes but had no idea what anything was for.
So like any novice, I thought I’d just grab my screw driver and get to work. That random hose clamp looks like a good place to start. I pulled off the fitting…and water started spraying EVERYWHERE! Whoops – That’s not right!
After a few seconds of hoping it would just stop, I realized that I had to find another solution so I managed to get the fitting back on (though it was still leaking).
“Clearly I had no idea what I was doing, maybe I should try to find a manual or something”
We happen to have a small ‘ships library’ consisting of manuals for just about every system, instrument & accessory onboard. While digging through, I came upon a hand drawn copy of this very boat’s plumbing system. Score! I quickly learned that I had opened up the ‘head intake’ (brings salt water into the boat so you can fill your toilet bowl).
Side note: The same intake on our boat is used for the engine, there is a ‘T’ fitting so we had to plug that up before we could start the engine. From the diagrams I was able to trace it back to the correct through hull and turn it off.
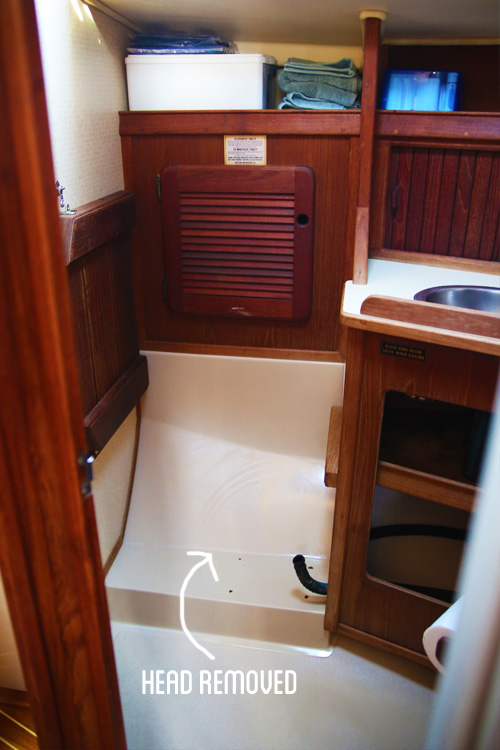
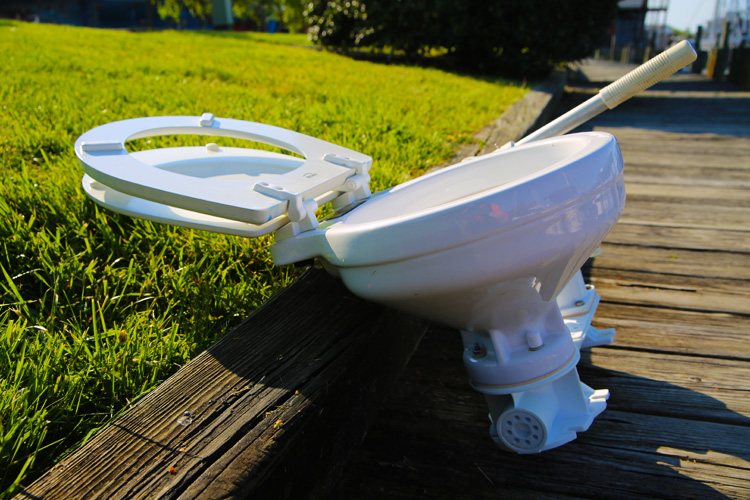
After that ‘minor’ hiccup, I was able to disconnect all the hoses connected to the head. Then I just had to pull it out of the boat and onto the grass where I washed it out (it was surprisingly very clean already). After that, I thought the hard part was over…
The hoses that remained (still not sure what they are all for yet) and the one head intake hose all began to leak some pretty nasty stuff, so I pulled a MacGyver and managed to plug them up with some handy duct tape and ziplock sandwich bags. That ceased the spillage for some time.
At this point the only major thing left was to remove the holding tank (where your waste matter is stored). Our holding tank is under our V-Berth (aka – master bedroom). Just imagine 16 gallons of sewage under your bed at home – GROSS!
Holding tanks work like RV black water tanks; you can pump them out at a station. Your other option (as a boater) is dumping out in the sea. But you must be 3 miles or more out to sea, otherwise you get in BIG TROUBLE.
We heard this joke that if you ever see a huge cruise ship out to sea, don’t get too close behind it because as soon as its 3 miles out, there’s thousands of gallons of sewage spewing overboard.
My naiveté was apparent once I got to the holding tank. It didn’t look too terrible and I thought I could just lift it out of its compartment. Wrong. I did manage to undo one of the hoses attached to the tank, but the others were too tight in the space. The tank itself wasn’t terribly heavy, but there was some liquid in the tank (3 guesses what that could be), and it made it pretty heavy and awkward to just lift. Plus the size of the compartment only gave me about a half an inch around to grab any part of this thing; not enough to get any purchase. I did attempt using a crowbar but had no success.
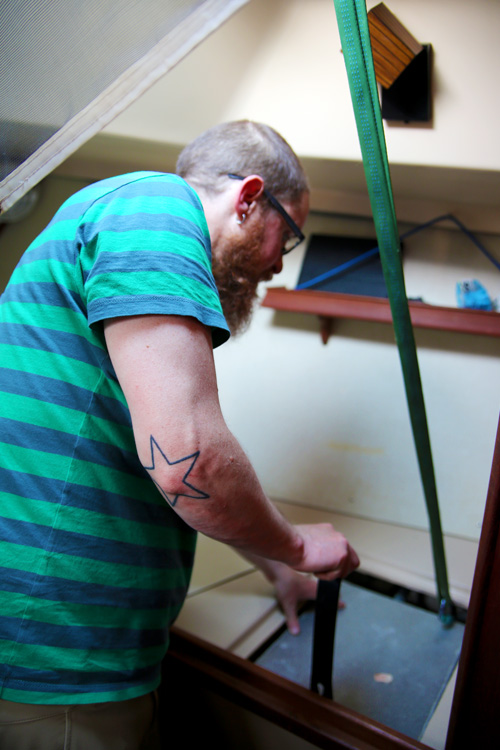
Being an active climber for almost 2 decades has taught me a thing or 10 about rigging and hauling things (in my prior experience that usually included myself). So I put this knowledge to good use and created a hauling system with the plethora of climbing leftovers that we brought with us (just in case) and some of the features of the boat. I used the spare halyard (used to raise sails) and a winch (helps give mechanical advantage to haul or crank things) and then wrapped webbing around the tank. Jilly worked the winch while I helped guide the tank in hopes that we could pull it from its compartment. It looked really good until Jill said that the halyard was at its end and the tank was only about halfway out of the compartment. We tried to use our own strength to get it the rest of the way, but one of the hoses attached to the tank was in the way and short of cutting said hose, we knew it wouldn’t make it. So we lowered it back in and went back to the drawing board.
We did some research online. Some wonderful forums include the Cruisers Forum and the Island Packet forum, where we posed the same question; how to remove the holding tank? Everyone came back with the same response: cut it out. I have NEVER in my life cut metal…and I was terrified. So I put this one off for a few more days.
I distracted myself with other projects and talked to other boaters here at our marina, trying to get some insight, but really didn’t find anything. Then I remembered my brother Mike is a metal worker! DUH! I gave him a call and he armed me with the knowledge I needed to give it another shot.
Safety gear. Check. Drop Cloth. Check. Saw Zall. Check. I put a fully charged battery in my saw. I made sure to use a metal cutting blade that I prepped with some WD-40 to keep it from melting to the aluminum (thanks for the tip bro!) and dug in. Within about 5 seconds I bent my blade due to poor technique but I had a spare and managed to cut a nice large chunk off the top. Not so scary as I thought. (Note: this whole morning Jill decided to work in the library to be as far away from the boat as she could…and for good reason!)
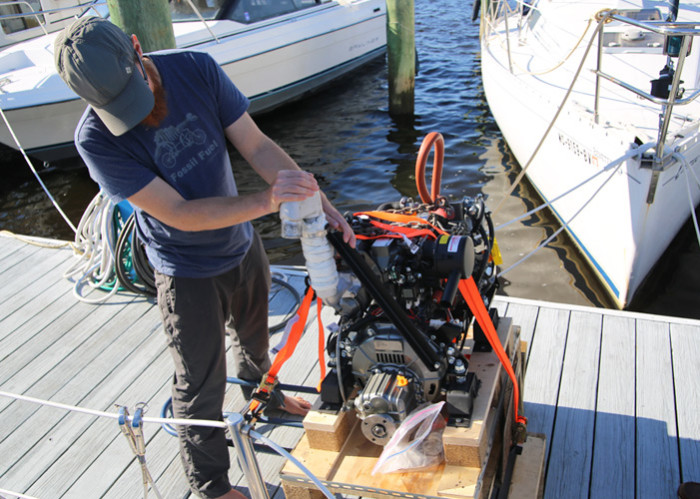
The next part – not so nice. Actually it was really gross. I put on big rubber gloves and got an old bucket (which would all go in the trash later) and a small scoop. After half a dozen trips to and from the marina septic system, the tank was empty! I was able to disconnect the waste pump-out hose from the holding tank…and waalaa…tank came out nice and easy!
The remaining hoses are another matter altogether, but I got the nasty tank outta there and in the garbage where it belongs.
To be continued…On to Part 2


We removed a holding tank from our boat last year and it was very messy business. We replaced it with a smaller plastic model but it definitely made a difference. What are your thoughts on the new composting head? Have you had a lot of use of it yet? Wondering if it is worth the switch? Great blog!
So far we love the composting head. Granted we have only been using it for a few days, but it seems to be so easy and low-maintenance that it will be a dream once we take off. Thanks for reading!
You will find you tube videos can teach you a lot about working on a boat. I’m a visual learner