


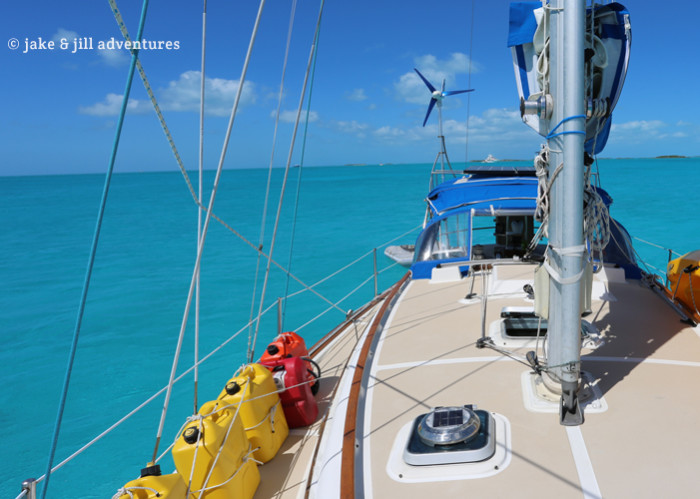
Stack Pack…ATTACK!!!
Since Bosco came into our lives, raising and lowering the main sail has been a huge headache. 95% of the time, the main would get caught on the lazy jacks during raising (even if they are taken down, the main halyard catches on the blocks). Lowering the sail was much the same; leaving a huge mess on the deck below. We’d have to spend extra time at anchor tidying it all up, but we needed a better solution.
For those of you non-sailors, lazy jacks are a series of lines that come together to form a cradle over the boom. They assist in the lowering or reefing of the sail, by helping to guide the sail easily to the boom as its being lowered.
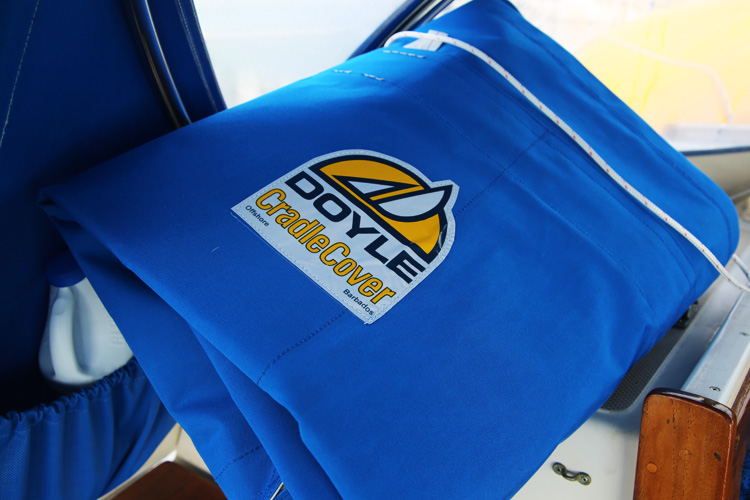
Although our setup was pretty standard, we found that for some reason or another, our lazy jacks didn’t want to work with us. They would get stuck, clang on the boom, and were basically more of a hinderance than a help. So, we investigated some “relatively” inexpensive solutions, and discovered the cradle cover, aka, stack pack.
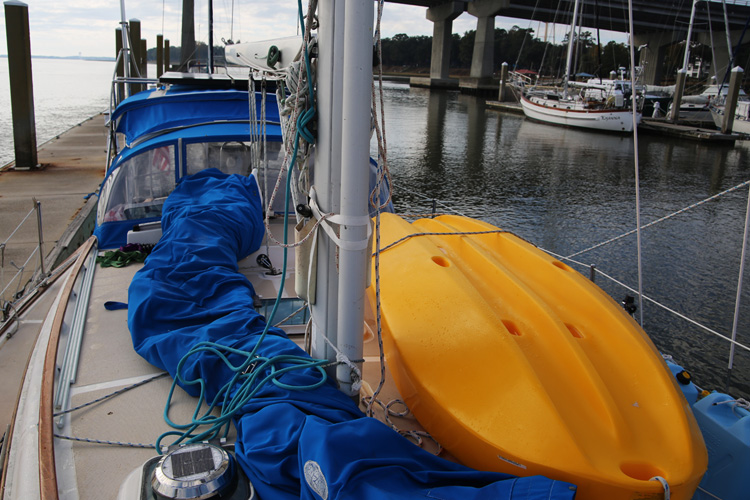
The stack pack is a much more streamlined system that eliminates several tasks, saving both time and effort. The stack pack system stays up all the time (rather than being raised / lowered with each sail). So when you want to raise the main, you simply unzip the “built-in” bag and connect the main sheet halyard, then hoist. Its almost like 2 steps instead of 10, and nothing gets caught. The stack pack’s lazy jacks are all adjustable and removable as well, but its not necessary to do so. Lowering is as simple as un-cleating the halyard and letting the sail down – it stacks nice and neat on the boom, and you can zip up the “bag” and DONE.
Back in NC we hired a local sailmaker to fabricate and install this for us. But there was delay after delay after delay (mostly weather). The final straw was when we were 4 days passed our planned departure date and still waiting for the stack pack (or rather one part of the stack pack) to be delivered. Specifically 2-18-foot battens. They are the long fiberglass support pieces that give the stack pack shape.
Well we were sick of waiting as you know, so we gathered all the materials (minus battens) and took off. We figured (or Jake figured), how hard could it be to install this thing?
When we arrived in Port Royal the first order of business was to order the battens so that we could have them waiting for us after our Thanksgiving land adventures. And it all worked out swimmingly! Battens were ready for us the day after we got back to South Carolina.
The directions suggested that the whole job should take around 3 hours, so we assumed it would take US the entire day. (It only took about 5 hours!)
How to Install a Cradle Cover / Stack Pack (by Jake)
- Step 1: Remove the old sail from the boom.
- Step 2: The most nerve-wracking part was mounting gear on the aluminum mast. there were 6 pieces of hardware to install, so I started with the bottom-most part. I had to install two cleats at the bottom, near the boom. Turns out it was much easier than expected, and that the clceats were installed in less than an hour. Just a few screws, 2 drilled holes, some sealant and a little elbow grease.
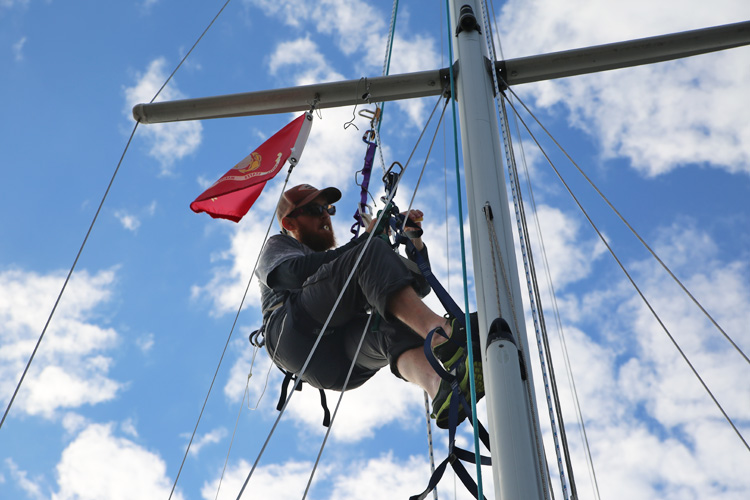
- Step 3: Climb the mast to install the padeyes and blocks. Jill belayed me as I climbed the mast. I had to hang in midair while drilling which was a little tricky. I made sure that EVERYTHING on me was connected to a lanyard and attached to my harness. Nothing was allowed to fall or get lost, because we only have one of each of these pieces.
I worked on the upper blocks next, using rope to tie them in place so they wouldn’t fall. I drilled the 1st hole, put the screw (with sealant) BEFORE drilling the second, to make DARN sure everything is lined up. Side 2 was much faster.
- Step 4: The pad eye installation was a breeze. I could stand on top of the boom and simply screw them in by hand (it was almost too easy). Hardware installation…complete.
- Step 5: Slide the battens into their respective slot in the stack pack (its pretty obvious where these go).
- Step 6: Jill and I had to work together to slide the canvas of the stack pack in the grooves of the boom. Once up, it looked like a huge mess of random ropes going all over the place. It took a few passes at the instructions and some playing around before we had it all figured out.
- Step 7: With our new game plan, I climbed back up the mast and ran the new lazy jacks (the ones connected to the stack pack) into all the new hardware that I just installed, with Jill at the bottom to tie it down. We waited until the last second to cut the old lazy jacks off, just in case something went wrong and we needed them.
- Step 8: Tie off the remaining lines to the front and aft of the boom to give the stack pack its shape at the ends. At that point I also removed the old lazy jacks, adjusting the new ones at the same time.
- Step 9: I had to climb the boom to tie off the very last line (with a rolling hitch) so that there was no tension on the boom vang. But once that was tied (in a matter of a few seconds), the job was done!
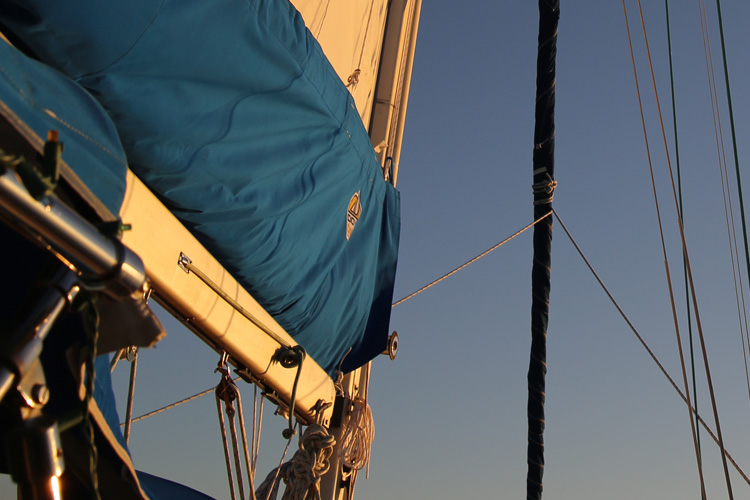
- Step 10: admire and enjoy your new stack pack.
Sure it would have been easier to wait and have someone else install the stack pack for us. But we were so tired of waiting on people to do work for us by then. Waiting on people to do YOUR boat work is sometimes as much of a pain as doing it yourself.
More importantly, you learn how the whole system works, so that if you have to take it down or if something breaks, you know how to fix it. We’ve learned where to pick our battles with hiring boat work. Plus its really expensive. If you know you don’t have the skills to do something yourself (like electrical), then its probably a good idea to hire a pro. But for some jobs, in fact most jobs, are better done yourself.


Looks lime you had to climb the mast a lot during this project
I think he ended up climbing up there 6 times before the end 🙂
Good luck on your voyage down south and over the Gulf Stream!
s/v Radiant