


A No Bull Install of the Seagull IV
The Seagull IV water filter installation means one thing: Bosco will finally have clean, drinkable running water. No more jug hauling for this crew [points fingers at self]. Or at least, not as much!
No matter how clean of a water system, it will never be perfect. Even brand new. Within just a few weeks, all the hard work (and cleanliness) is negated by the fact that you are…in fact…on a boat. It comes with a humid environment. Doesn’t matter if its hot or cold. Humidity means water, which means living organisms aka bacteria. You get the idea; One can never keep their water clean enough to simply drink straight from the tap. Often when traveling, you may fill up the water tank or jerry jugs from places that are questionable. The so-called “clean” water is already tainted with chemicals and bacteria and sulfur…YUM.
Its not too big a deal, in this awesome age of technology that we live. There are several measures to be taken…the main being filtration.
Up until yesterday, we had been using our jerry jugs and a basic in-line filter for all of our consumable water (drinking and cooking). It was the “first line of defense” against contamination. Then we would take that water and filter it again through a small Brita water filter we have onboard. Then it would be ready for drinking, cooking, brushing our teeth, etc.
It was a process for sure. Especially when we would run out of water from the jerry jugs. It required lots of hauling back and forth, up and down the companionway. It also takes up a lot of extra space in the kitchen (which is where we kept it).
Several months ago, we bought a super fancy water filter (The Seagull IV), which allegedly can take swamp water and turn it to safe drinking water that tastes good (and doesn’t make you sick). Sounds perfect! The task of installing it, however, felt more daunting than either Jake or I were prepared to handle.
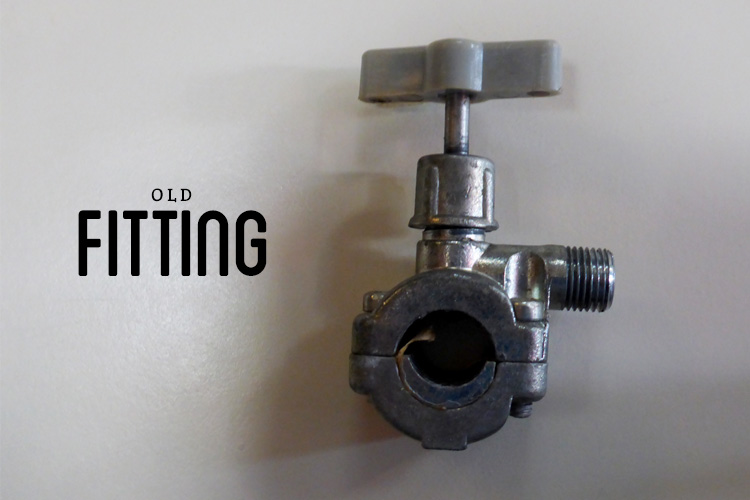
There was an older version of this filter already installed, so a very large chunk of the job was removing it. Unfortunately it was tapped into a copper pipe below the kitchen sink, and Jake had no clue how he would work with it once everything was removed.
But, like most jobs, the only way to learn is to start digging in. Jake learned his lesson from the past (removing the old head) and made sure that anything that could possibly leak was emptied, closed or turned off. He managed to remove all of the old pieces and parts in about an hour. Not too bad considering the extremely tight space he was working with.
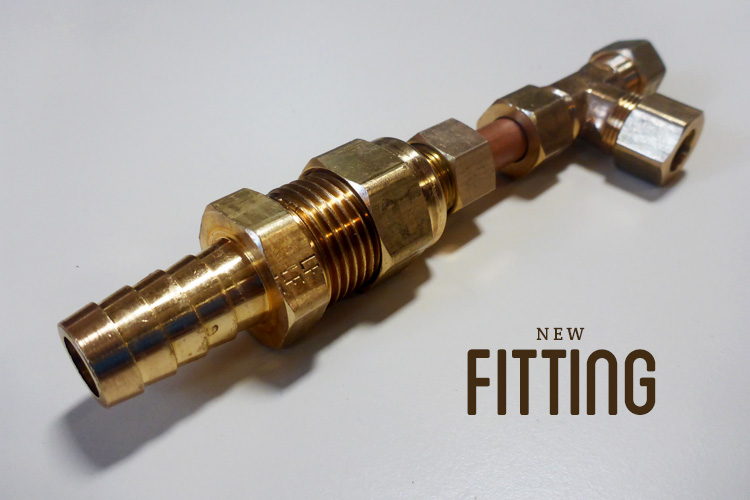
Once dismantled, we took the adapter that came with our new filter to the local hardware store. The guys who work there were more than eager to help, essentially, teaching Jake how compression fittings work. We got a smaller copper pipe cutter and a compression fitting. Jake ended up cutting the copper pipe above the hole from the old filter from the cold water line, which goes to a “T” compression fitting. One part of the “T” goes to the filter, the other part to a small copper piece, 2 adapters and a 1/2″ barb fitting into the cold water hose….sounds simple right?
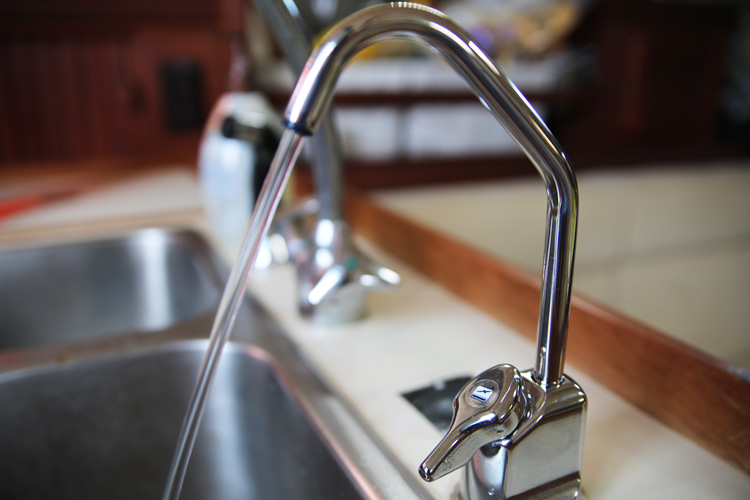
Jake managed to get everything assembled under the sink with only 2 trips to the hardware store (a record!). Well that’s not entirely accurate – the 3rd trip was for a large 3/4″ drill bit that we needed to get the faucet head mounted.
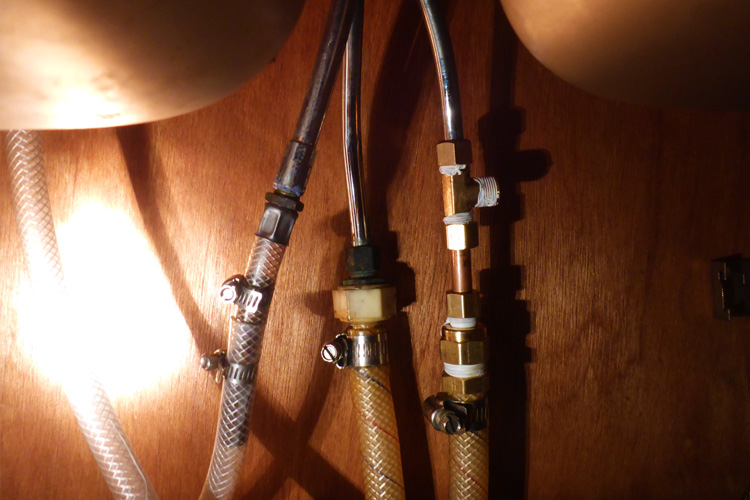
It was surprisingly hard to get the body of the filter mounted under the sink with all the stiff hose lines. After about 20 minutes of struggling, Jake was able to get it all together. The real test was pressurizing the system, and if water starts leaking. With any plumbing project (or boat project for that matter) if nothing leaks the first time…its a miracle (and very unlikely!)
And sure enough, the first test spewed water from a few fittings. No big deal. We quickly turned it off and Jake gave several good efforts to tighten down all the fittings (not so easy in the tiny space). He was finally able to get the system “leak-free!” The last step was to run the water through the filter for a few minutes to get all of the air and black stuff out.

This project wasn’t as scary as we first thought. We planned to hire it out thinking it would be too complicated for us. But Jake rocked it. And of course, with all the projects we do ourselves, the amount of skills learned and money saved outweighs the time and energy exerted. Plus we got some new tools that will come in handy for later in life.
We are a very happy crew to finally have drinkable running water! Success!!!


You are to be commended for your fine, fine work, Jacob Challis.
JOLLY GOOD SHOW!!
Wow, y’all are learning so much! Jake can now hire himself out to do stuff for other people’s boats!
Thanks Steve and Patty! I don’t think Jake would ever want to do this for a living, but its definitely a great skill to have! 🙂 Who knows though could be a career shift in the making…boat plumbing! sounds glamorous